The app is able to store any amount of text in records of a database.
You can also dictate this information as text. Afterwards, you can search for this information
and have it read to you.
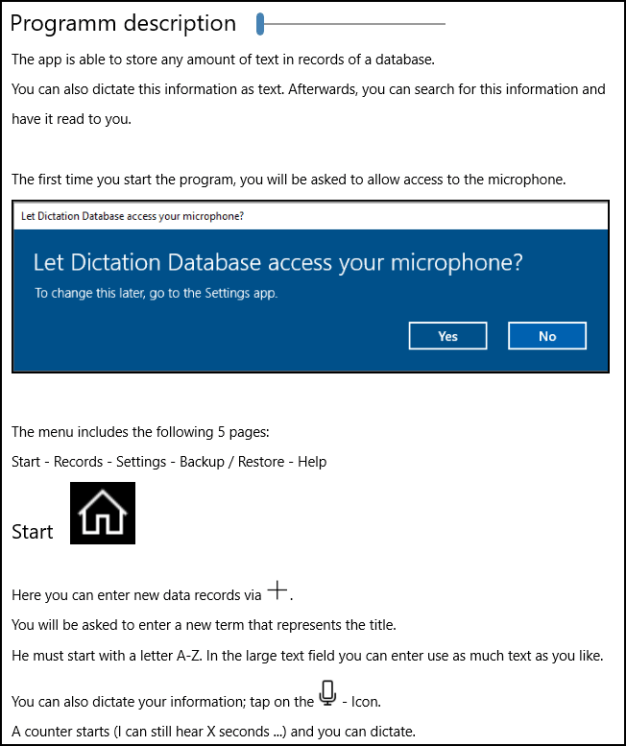
The first time you start the program, you will be asked to allow access to the microphone.

The menu (on the left) includes the following 5 pages:
Start - Records - Settings - Backup / Restore - Help
Start

Here you can enter new data records via
![]() .
.
You will be asked to enter a new term that represents the title.
He must start with a letter A-Z. In the large text field you can enter use as much text as you like.
You can also dictate
your information; tap on the
![]() - Icon.
- Icon.
A counter starts (I can still hear X seconds ...) and you can dictate.
If the period has expired, you would have to restart the dictation
![]() .
.
The number of seconds to wait is set on the Settings page.
As soon as you mark a word / character while capturing, an icon will appear in the upper right
corner
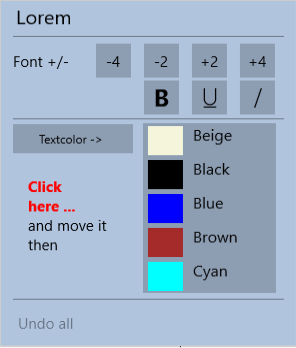
![]() . You can start a small format editor, with which you can design your text:
. You can start a small format editor, with which you can design your text:
Font size, text color, background color (click on text color), bold, underline, italic, ...
![]() - Save ends recording or you can cancel
- Save ends recording or you can cancel
![]() .
.
After you've collected your information in records, you can search for it.
You must enter at least 2 characters that you want to search for.

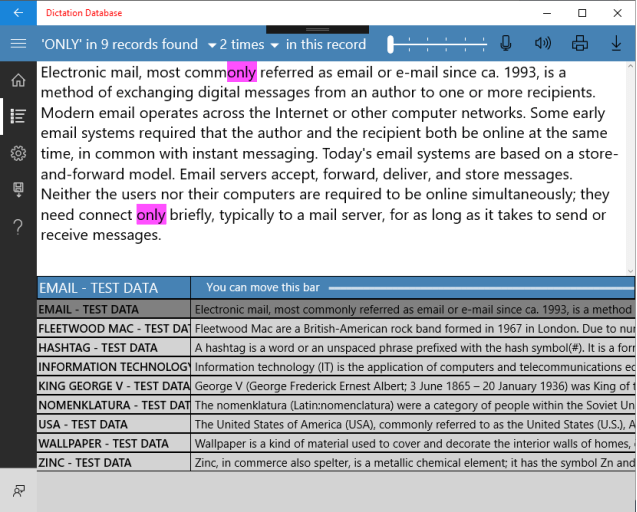
The result - the hit list - could look like this:
Records

After you have collected multiple records, they will be collected on this page in
list form. Either you display all the recor ds or you restrict the hit list by searching for something.
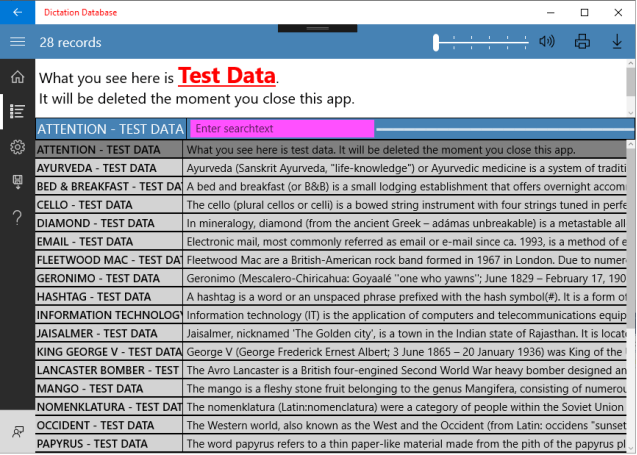
Within a found record, you can then search for more terms: here in the example MAIL
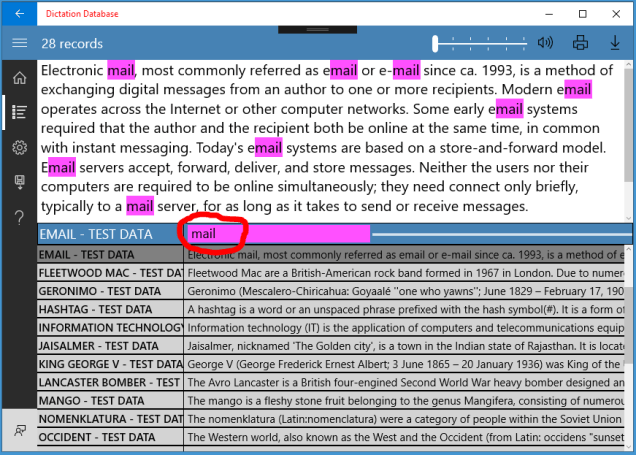
You can also let read out the text aloud
![]() .
.
As soon as you right-click on a record, a menu will appear wh ere where you can either change
the title or delete the record.

On a touch device (tablet, smartphone etc.) this menu will appear after you first select the
record with your finger (slightly longer than just a tap) and then let go again.
You can continue to dictate text. Position the cursor on the desired place in the text
and then tap
![]() .
.
In the settings
 you can specify whether each dictated text should end with a Point.
Marked text can be formatted as described above
![]() .
.
You can also replace a marked text (for example: wikipedia) with an internet link;
tap on the link icon
![]() .
.
The following
dialog box appears

You complete it
 and end the entry with Enter.
The text will then show the link
![]()
You can access this link (while holding down the Ctrl key) with a mouse click.
Via
![]() you can print the text.
you can print the text.
If your document contains NO pictures/photos/graphics, the following print dialog appears:
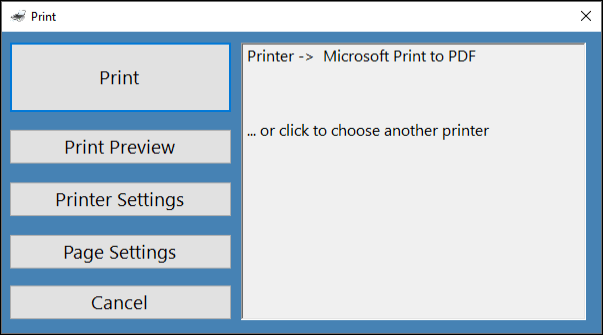
As soon as your document con tains pictures/photos/graphics, the message appears:

As soon as you press YES, Wordpad opens. You can print now.
If you would like to process your text, you can download it
![]() in RTF-Format, i.e. export to the
in RTF-Format, i.e. export to the
file system.
Settings

Microphone indicates if a microphone is even available. otherwise of course you can not dictate
anything.
If the app does not have permission to access the microphone, a note appears at program start.

Here on the Settings page, the missing permissions will also be
 displayed.
Also via the windows settings, you can choose the language – you want to use for dictation.

As soon as you dictate, the app waits a certain number of seconds before it stops listening.
![]()
You can define this time span here:
![]()
If you want to be able to complete the dictated text automatically with a dot, you can set that.
![]()
Next you can select the voice that reads your texts:

Depending on how many languages are installed on your system, you can also choose from
![]()
all available languages
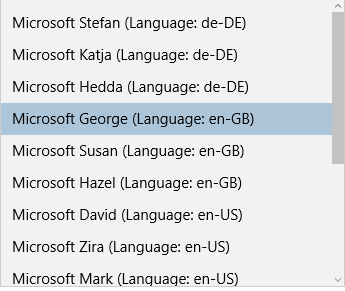
You can specify the speed with which the texts are read to you by:
![]()
When you enter new text on the start page, you can define the desired font size here:

You can even change the app language.
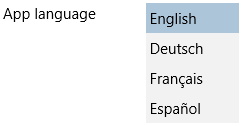
If you want to give feedback
![]() or want to give a review you do that
or want to give a review you do that
here
![]()
A click / tip on
![]() takes you to the Microsoft Store
takes you to the Microsoft Store
Basically, you can also suppress the display of possible error messages.
![]()
Backup / Restore

When you start the backup
 , you will asked to select a folder
where the database backup file will be saved
If the backup was successful, for exa mple, the message appears:

You will also see in which folder you have saved the last backup:


Please note that ALL your data will be overwritten !!!
It is first asked:

Then navigate to the folder in which you have saved the desired backup
and select it with a double-click; this restarts the restore.

Help
![]()
You can view the complete program description here:
… etc
On desktop PC, you can use the slider to change the font size.
On tablet / s martphone, you can zoom in as usual with your thumb - forefinger.
